从0开始的Docker记录
至于为什么我写这个东西,其实是主要避免把我VPS上的配置弄乱,所以这个时候docker的用处就出来了,容器。如果说VPS是一张桌子,那么docker就是桌子上的沙盒,我可以使用桌子上的资源,但是沙盒里无论做什么,都影响不到我桌子上的其他东西。
从0开始那便从Hello World开始吧
首先第一步,先把Docker安装好
各个平台用各自合适的方法安装
Windows
建议百度菜鸟教程,其中详细介绍了WIN7/8/10的不同推荐的安装方法,并建议WIN10开启Hyper-V虚拟化技术,也听大佬说过如果在虚拟机上弄docker只能使用Hyper-V,VMware、virtualbox之类的并不支持。
Linux
对于各大 Linux 发行版( Ubuntu 、CentOS 等等),我们推荐用官方脚本进行安装,方便快捷:
curl -fsSL https://get.docker.com -o get-docker.sh
sudo sh get-docker.sh
然后推荐将 docker 的权限移交给非 root 用户,这样使用 docker 就不需要每次都 sudo 了:
sudo usermod -aG docker $USER注销用户或者重启之后就会生效。然后通过 systemd 服务配置 Docker 开机启动:
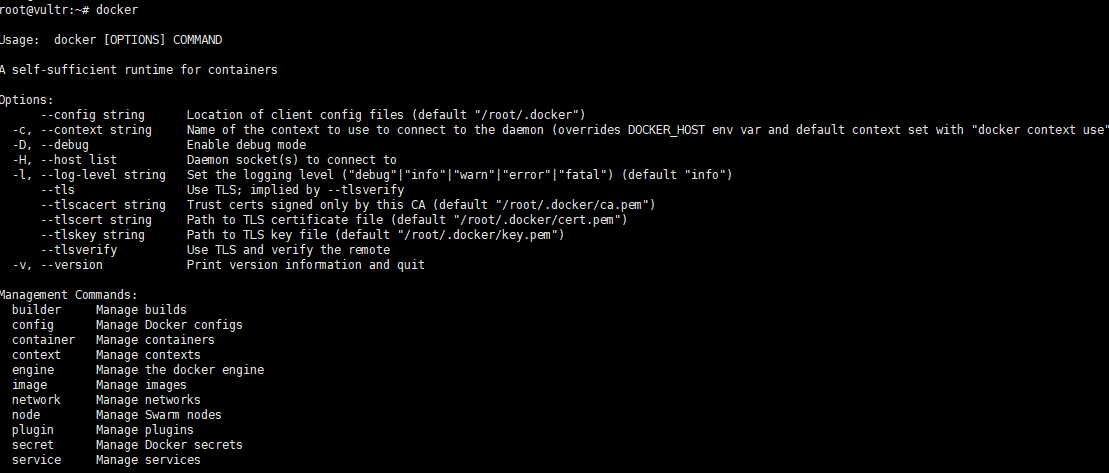
sudo systemctl enable docker当我们安装完成后 输入docker

便会出现这么一片的东西,那代表docker已经安装成功了。
既然需要的东西准备好了,那么我们就来搭建这个沙盒吧。
在沙盒建成之前,我们需要给它起个名字,当然你甚至可以用他默认的命名(一个随机的形容词加上一位著名科学家 /程序员的姓氏),不得不说是真有意思,就像抽奖一样,无论怎么猜也很难猜到名字,犹如生活处处充满着惊喜。
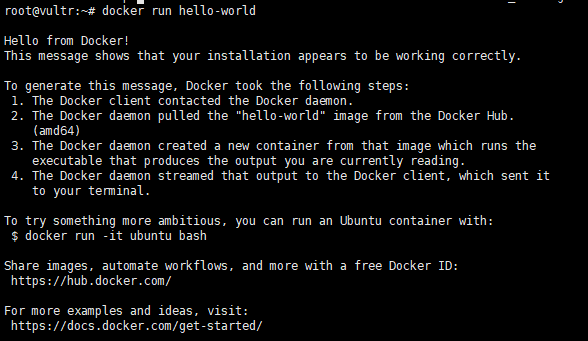
docker run hello-world系统返回的输出如下
Unable to find image 'hello-world:latest' locally
latest: Pulling from library/hello-world
1b930d010525: Pull complete
Digest: sha256:fb158b7ad66f4d58aa66c4455858230cd2eab4cdf2aee4ce5e28df2f051d5c05
Status: Downloaded newer image for hello-world:latest

Hello from Docker!
This message shows that your installation appears to be working correctly.

To generate this message, Docker took the following steps:
 1. The Docker client contacted the Docker daemon.
 2. The Docker daemon pulled the "hello-world" image from the Docker Hub.
 3. The Docker daemon created a new container from that image which runs the
    executable that produces the output you are currently reading.
 4. The Docker daemon streamed that output to the Docker client, which sent it
    to your terminal.
那么现在我们来看看 这一段,docker究竟干了什么
- 在本例没有找到指定的hello-world:latest镜像(
latest是镜像标签) - 因为本地没有这个hello-world的镜像,所以下载这个镜像到本地
- 根据本地的hello-world:latest镜像创建容器并运行其中的程序
- 运行完毕,退出该容器,控制权返还给用户
这个时候你会好奇,如果我已经有这个镜像了,会怎么样?
那么我们再跑一遍
docker run hello-world
Hello from Docker!
1. The Docker client contacted the Docker daemon.
2. The Docker daemon pulled the "hello-world" image from the Docker Hub.
3. The Docker daemon created a new container from that image which runs the
    executable that produces the output you are currently reading.
4. The Docker daemon streamed that output to the Docker client, which sent it
    to your terminal.
很明显 因为docker在本地找到了hello-world这个镜像,便直接跳过了下载镜像这一段直接进入创建容器运行程序这一步骤了。
持续/后台运行
作为一台VPS,既然有着24小时运转的优势,为什么不能让他跑nginx呢?
docker run -p 8080:80 nginx
没了?就这样?但是事实是真的就这样
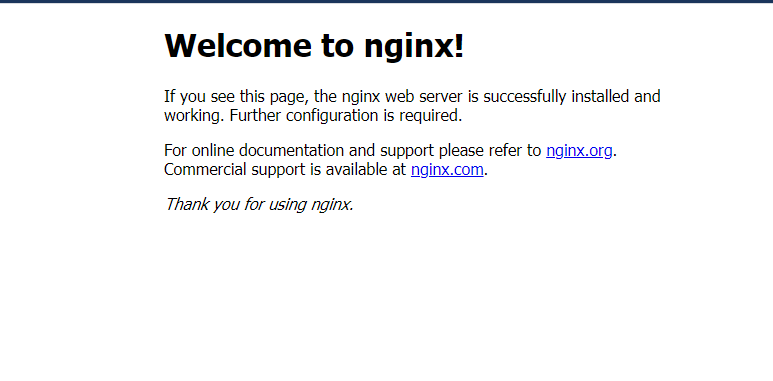
我们直接访问域名解析失败已经没有了,变成了404。让我们在域名的后面加上:8080

熟悉不熟悉,nginx就这么建立起来了。
如果开启了nginx,我们就没有控制权了,那么能不能把他丢去后台运行呢?
答案当然是可以的
docker run -p 8080:80 -d nginx
没错 就返回了这一段
我们用浏览器打开确实确认到服务器已经在后台运行了,但是我们怎么在终端里确定呢?
docker ps
看 亲切的诺贝尔切切实实在后台运行着。
当然把他删除也很简单,但是我们不能直接删除,就好像你打开着一个word文档的时候你是删除不了的,我们需要的是先把它停了再删除。
docker kill gracious_nobeldocker rm gracious_nobel
当然后面kill/rm不仅仅接name也可以接容器的ID 反正目的是让docker知道你想要操作的是哪个容器就行了 然后全不要可以直接docker rm $(docker ps -aq)【docker ps -a为输出所有的容器ID】